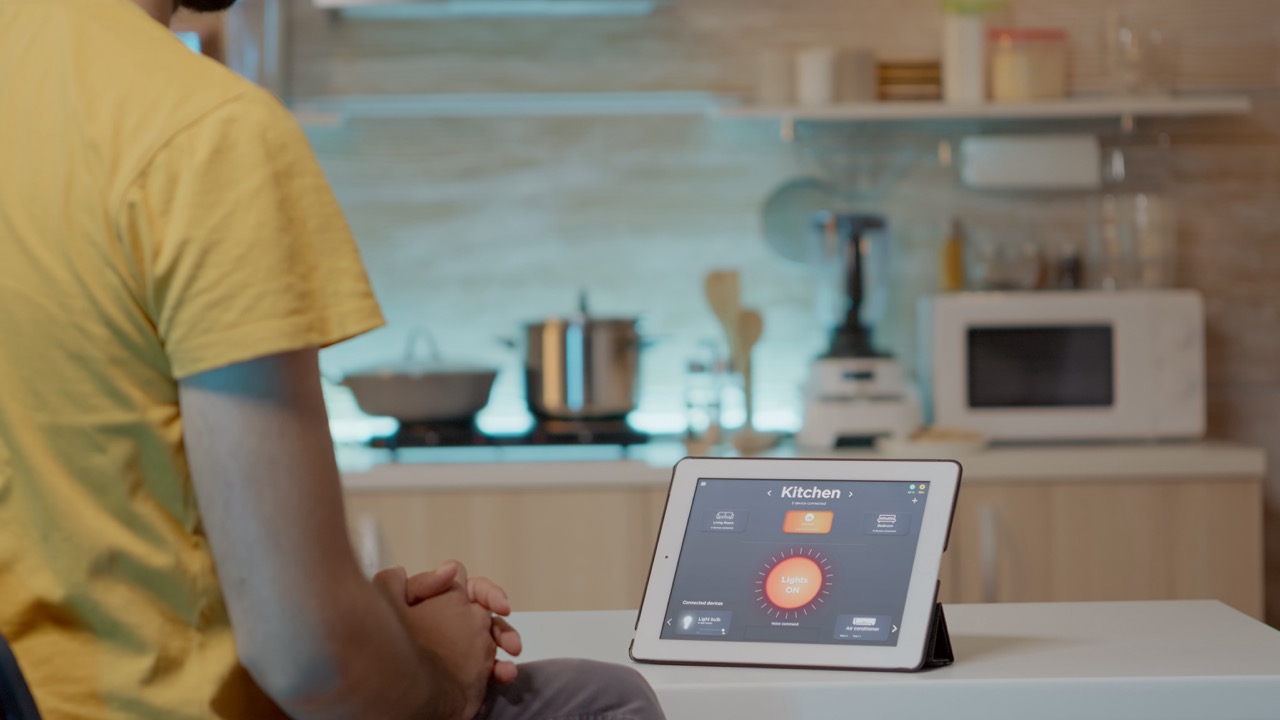
In today’s fast-paced world, smart home technology has revolutionized the way we interact with our living spaces. Among these innovations, the SwitchBot Bot and Hub stand out as user-friendly solutions for automating everyday tasks, such as controlling lights. Whether you’re looking to enhance your home’s ambiance or streamline your daily routines, understanding how to effectively use these devices can make a significant difference. This guide will walk you through the basics of setting up the SwitchBot Bot and Hub, connecting your devices, and automating your lighting for maximum efficiency.
Understanding the Basics of SwitchBot Bot and Hub Setup
To begin with, the SwitchBot Bot is a compact device designed to mimic the action of pressing physical switches. It’s perfect for retrofitting existing light switches in your home without any major renovations. The SwitchBot Hub, on the other hand, acts as the central command unit for your smart devices, allowing you to control them remotely via a smartphone app or voice commands through a smart assistant like Amazon Alexa or Google Assistant.
Setting up the SwitchBot Bot is surprisingly straightforward. You simply need to attach it to your existing light switch using the provided adhesive tape. This allows the bot to push the switch on and off as needed. The Hub, once plugged in and connected to your Wi-Fi network, enables you to access and control the Bot from anywhere, making it a crucial part of your smart home ecosystem.
Both devices are compatible with various smart home platforms, so you can integrate them seamlessly with other gadgets you may already own. This compatibility is essential for creating a cohesive smart home environment, allowing you to control multiple devices from a single app or voice command.
How to Connect Your SwitchBot Devices for Optimal Control
Connecting your SwitchBot Bot and Hub is a simple yet crucial step in ensuring optimal control over your lighting. First, download the SwitchBot app from the App Store or Google Play. Once installed, create an account or log in if you already have one. The app will guide you through the setup process, allowing you to add your Hub and Bot to your account.
To connect the Hub, simply follow the on-screen instructions to link it to your Wi-Fi network. Once the Hub is connected, you can add the SwitchBot Bot by selecting the "Add Device" option within the app. The app will search for the Bot, making it easy to pair the two devices. Make sure your phone and devices are in close proximity during this process to ensure a smooth connection.
After both devices are connected, you can customize your settings. The app allows you to group multiple Bots for synchronized control, set schedules for when your lights should turn on and off, or even create scenes for different moods or activities. This flexibility enhances your control over your environment, making your smart lighting experience truly personalized.
Step-by-Step Guide to Automating Your Lights with SwitchBot
Now that your SwitchBot Bot and Hub are set up and connected, it’s time to automate your lights. Begin by opening the SwitchBot app and selecting your Bot from the device list. You’ll have options to create custom commands or routines that can be triggered automatically or manually. Start by defining a routine, such as turning on the lights at sunset or off at bedtime.
To create a routine, navigate to the "Routines" section in the app. Here, you can set specific times for your Bot to activate, allowing your lights to respond to your lifestyle. You can also choose to set triggers based on other smart devices in your home, such as turning on the lights when you unlock your smart door lock.
Finally, test your automation to ensure everything works as expected. Monitor how your lights respond to the programmed commands, and make adjustments as necessary for optimal performance. The key to successful automation is fine-tuning your settings to match your daily habits, making your home more responsive to your needs.
Tips for Maximizing Efficiency with Smart Lighting Solutions
To truly maximize the efficiency of your smart lighting setup, consider incorporating additional smart devices that can work alongside your SwitchBot Bot and Hub. For instance, adding motion sensors can help automate your lights even further, allowing them to turn on automatically when someone enters a room. This not only enhances convenience but also saves energy.
Another tip is to utilize the scheduling feature effectively. By programming your lights to follow your daily routine, you can ensure that they are only on when needed. This can lead to significant energy savings and help reduce your electricity bill over time. Additionally, consider experimenting with different light settings to create various atmospheres for different occasions, such as movie nights or dinner parties.
Lastly, don’t forget to keep your SwitchBot app updated to take advantage of any new features or improvements. Regular updates can enhance compatibility with other smart home devices, ensuring that your setup remains efficient and future-ready. By continually adapting and optimizing your smart lighting solutions, you’ll create an environment that is not only functional but also tailored to your lifestyle.
In conclusion, controlling your lights using the SwitchBot Bot and Hub offers a practical and efficient way to enhance your home automation experience. With a straightforward setup process, easy connectivity, and customizable automation options, these devices can significantly improve your daily routines. By following the tips outlined in this guide, you can ensure that your smart lighting solution is not only effective but also energy-efficient, making your home feel more comfortable and responsive to your needs. Embrace the convenience of smart technology and transform your living space today!
