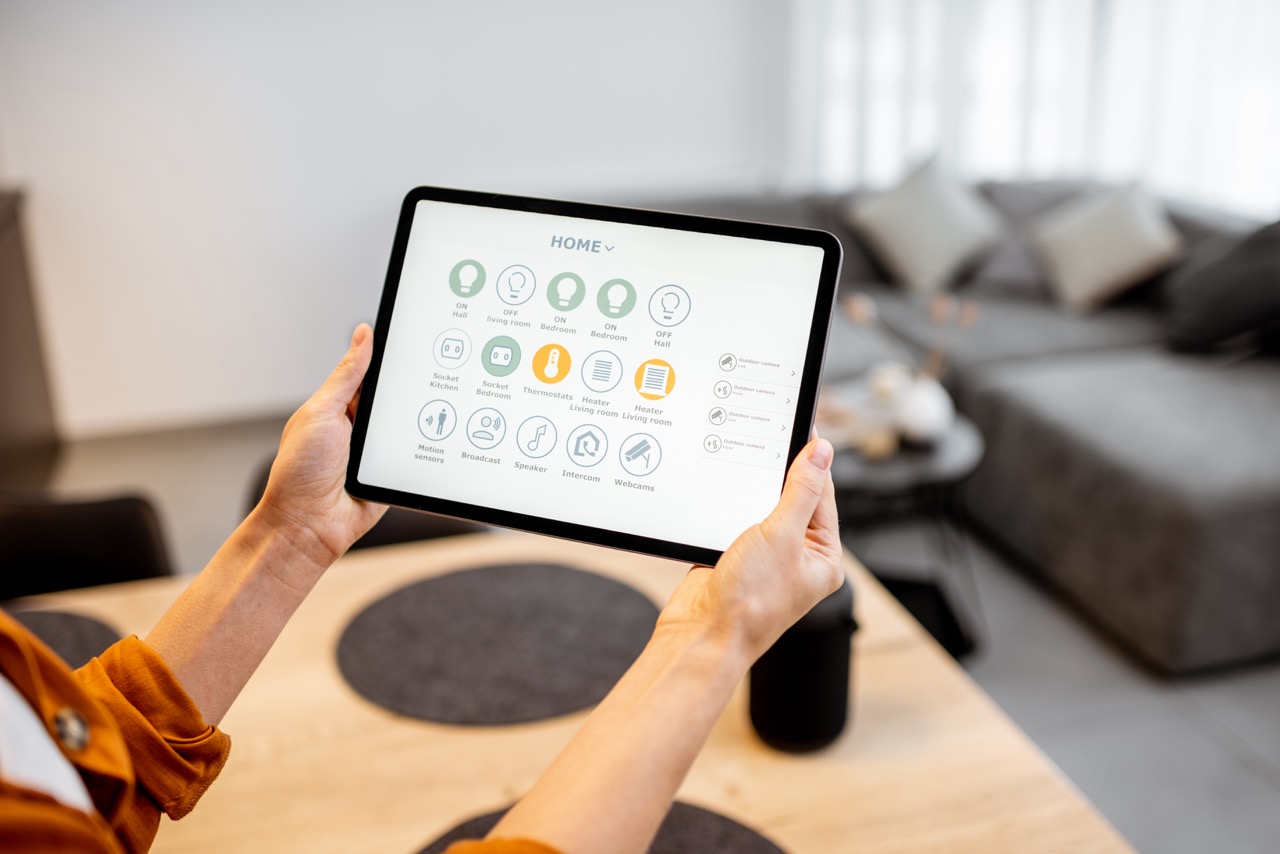
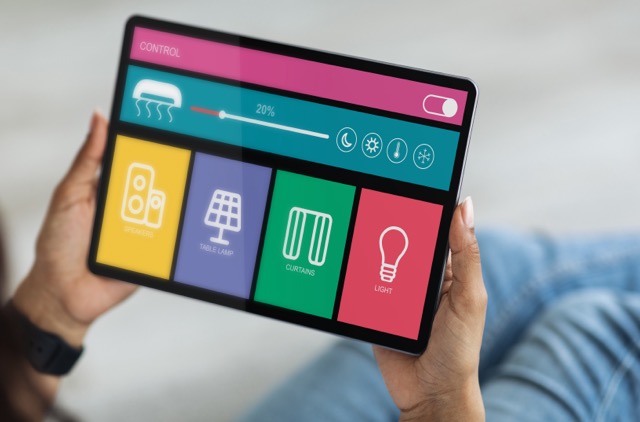
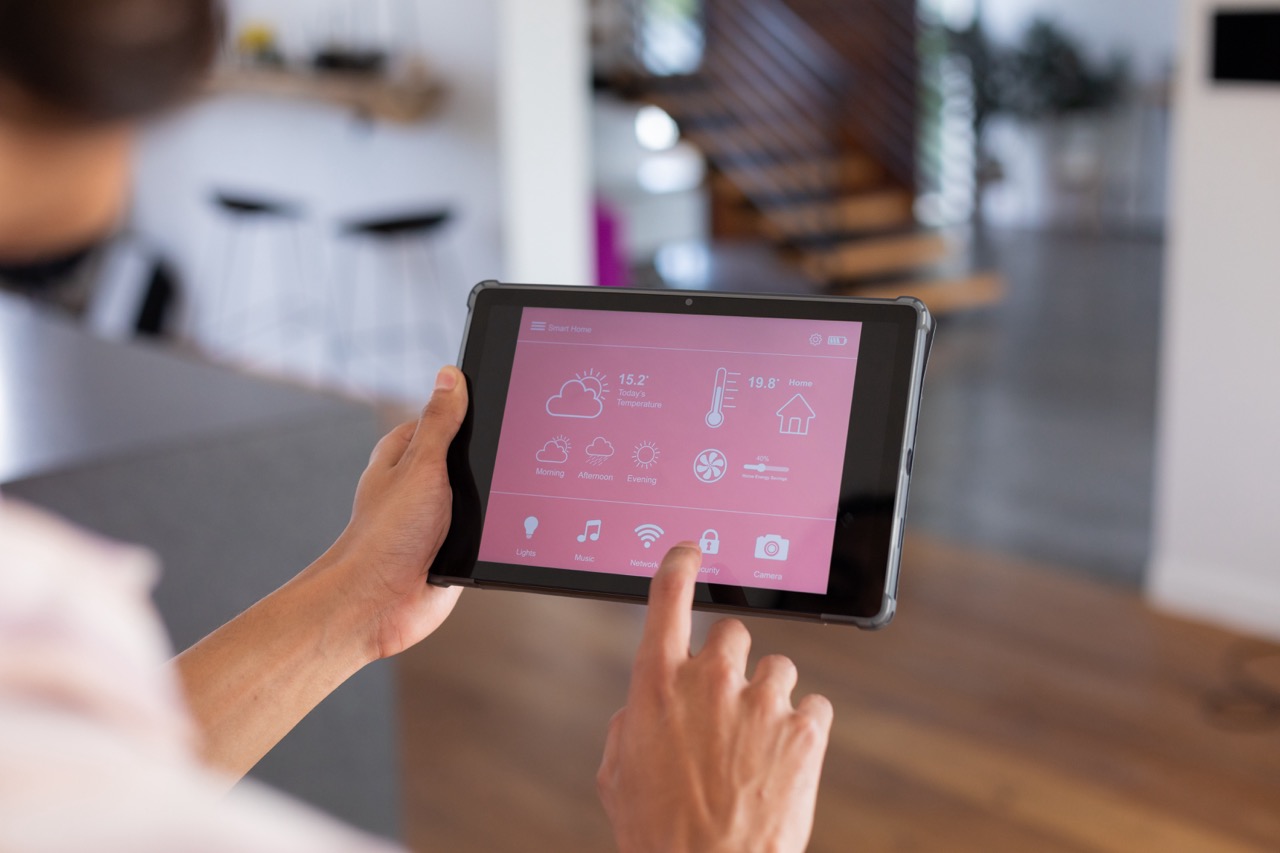
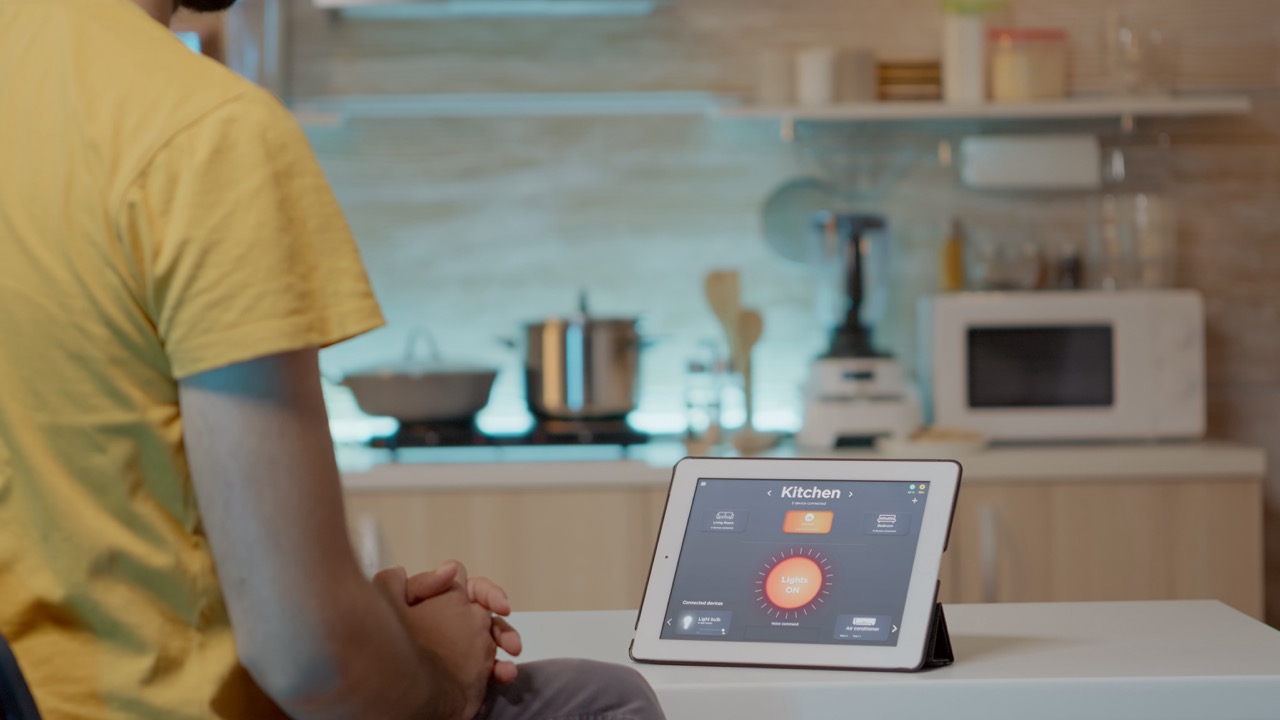
In an age where technology seamlessly integrates into our daily lives, the SwitchBot Bot stands out as a remarkable device that transforms ordinary appliances into smart ones. This compact gadget can control virtually any switch or button, making your home smarter without the need for extensive renovations or wiring. If you’re new to smart devices and eager to enhance your living space, this guide will walk you through everything you need to know to successfully install your SwitchBot Bot.
Understanding the SwitchBot Bot: What You Need to Know
The SwitchBot Bot is designed to automate your everyday tasks by converting traditional switches and buttons into smart controls. It connects to your smartphone via Bluetooth, allowing you to operate devices remotely through the SwitchBot app. This means you can turn on lights, start your coffee maker, or even control your fans with just a tap on your phone, making mundane chores feel like a thing of the past.
One of the standout features of the SwitchBot Bot is its compatibility with various devices. It works well with light switches, air conditioning units, and even coffee machines, as long as they have a button or switch to push. Additionally, the SwitchBot Bot can be integrated with smart home ecosystems like Amazon Alexa, Google Assistant, and IFTTT, enabling voice control and automation for a truly connected experience.
The installation process is straightforward and user-friendly, making it an ideal choice for beginners. With no need for complicated wiring or technical expertise, the SwitchBot Bot can easily fit into your smart home setup, enhancing convenience without overwhelming complexity. Whether you’re a tech enthusiast or just looking to simplify your life, the SwitchBot Bot offers an accessible entry point into the world of home automation.
Essential Tools and Materials for Installation Success
Before diving into the installation process, it’s essential to gather the necessary tools and materials. You will need the SwitchBot Bot itself, which comes with a set of adhesive pads for easy mounting. A smartphone with the SwitchBot app installed is also required, as this is how you’ll control the device. Ensure your phone is compatible with the app, which is available for both iOS and Android operating systems.
In addition to the device and app, having a clean surface is crucial for optimal adhesion. Before installation, wipe the area where you plan to place the SwitchBot Bot to remove dust and grease. A pair of scissors may be handy if you need to trim the adhesive pads to fit smaller switches. Finally, ensure your device is charged, as a fully functional unit will make for a smoother setup.
Having these tools and materials ready will save you time and frustration during the installation process. Being prepared allows you to focus on setting up your SwitchBot Bot efficiently, ensuring that you can start enjoying the benefits of a smarter home as quickly as possible.
Step-by-Step Guide to Installing Your SwitchBot Bot
Once you have everything prepared, it’s time to install your SwitchBot Bot. Begin by determining where you want to place the device. It should be positioned directly in front of the switch or button you wish to control. Measure the distance if necessary to ensure it aligns properly. Once you’ve chosen the location, peel off the adhesive backing from the pads and stick the SwitchBot Bot securely in place.
Next, download and open the SwitchBot app on your smartphone. Create an account or log in if you already have one. Follow the prompts to add a new device, selecting the SwitchBot Bot from the list. The app will guide you through the process of connecting the bot to your phone via Bluetooth. Make sure your phone’s Bluetooth is enabled, and follow any on-screen instructions to complete the pairing process.
After the device is connected, you’ll need to configure the settings in the app. This includes selecting the type of switch you’re controlling and testing the bot to ensure it’s functioning correctly. Once you’re satisfied that the SwitchBot Bot is operating as expected, you can explore additional features, such as setting schedules or integrating it with voice assistants for hands-free control.
Troubleshooting Common Issues During Setup and Use
Even with its user-friendly design, you may encounter some common issues while setting up the SwitchBot Bot. One such problem is the device not responding to commands. If this happens, ensure that your smartphone is within range and that Bluetooth is turned on. Restarting the app or the bot itself can also resolve connectivity issues. Sometimes, a simple reset can work wonders, so don’t hesitate to try that if you face persistent problems.
Another common issue is the adhesive failing to hold the SwitchBot Bot securely. If you find that the bot is falling off or losing grip, consider reapplying the adhesive pads or using a stronger adhesive solution. It’s important to ensure that the surface is clean and dry before reattaching the bot, as any dust or moisture can affect adhesion.
Lastly, if you experience difficulties with the app or integration with smart home systems, make sure you have the latest version of the SwitchBot app installed. Also, check for any firmware updates for the bot itself. If issues persist, consulting the SwitchBot support team or their online resources can provide additional troubleshooting steps to help you get back on track.
Installing the SwitchBot Bot can significantly enhance your home’s automation capabilities, providing convenience and efficiency in your daily routines. With this guide, you now have a comprehensive understanding of how to set up and troubleshoot your device. Embracing smart technology doesn’t have to be daunting; with a bit of preparation and patience, you’ll be well on your way to enjoying a smarter, more connected home. Welcome to the future of home automation!


