In today’s fast-paced world, smart home technology is becoming increasingly essential for convenience and efficiency. One of the standout products in this realm is the SwitchBot Hub, which allows users to control and automate various devices seamlessly. If you’re looking to set up multiple rooms in your home with smart capabilities, understanding how to utilize SwitchBot Hubs effectively is crucial. This article will walk you through the features of the SwitchBot Hub, planning your home layout, a step-by-step setup guide, and tips to optimize your smart home experience.
Understanding the SwitchBot Hub and Its Features
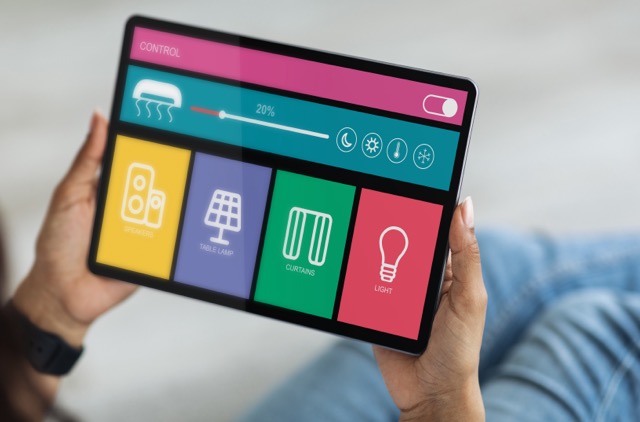
The SwitchBot Hub is a central device designed to connect and control multiple smart devices within your home. It serves as a bridge between your Wi-Fi network and various other devices, enabling you to manage them from a single interface. With compatibility for a wide array of devices—ranging from lights and thermostats to curtains and appliances—the SwitchBot Hub makes it easy to create a comprehensive smart home ecosystem.
One of the standout features of the SwitchBot Hub is its ability to integrate with voice assistants such as Amazon Alexa, Google Assistant, and Apple HomeKit. This means you can control your devices using simple voice commands, adding a layer of convenience to your daily routines. Additionally, the hub supports automation features, allowing you to set schedules or triggers based on specific conditions, like time of day or occupancy.
Security is also a key consideration when setting up a smart home. The SwitchBot Hub uses encryption protocols to ensure that your data remains secure while communicating with your devices. This focus on security, combined with its wide compatibility, makes the SwitchBot Hub an excellent choice for anyone looking to enhance their living space with smart technology.
Planning Your Smart Home Layout for Multiple Rooms
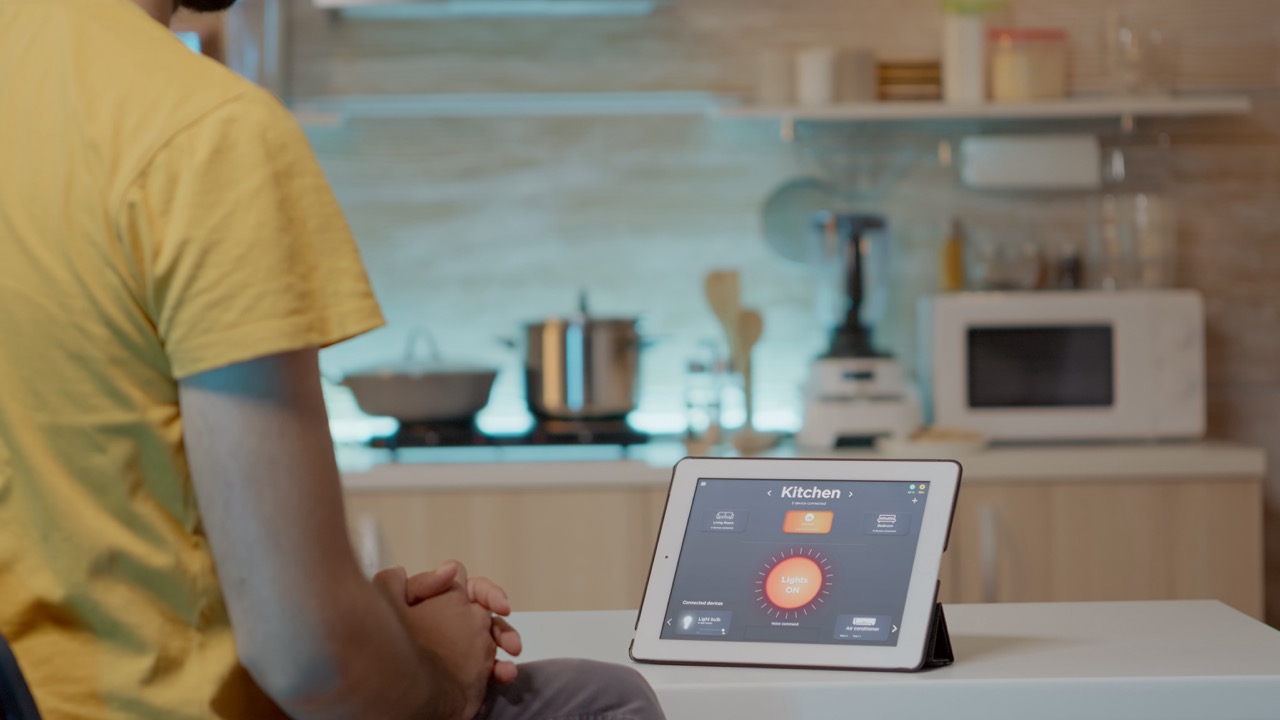
Before diving into the setup process, it’s essential to plan your smart home layout. Begin by evaluating each room in your house and identifying which devices you want to automate. Common choices include lights, smart plugs, thermostats, and security cameras. Create a list of these devices, as well as any specific functions you’d like each one to perform, such as dimming lights or adjusting the temperature.
Next, consider the layout of your home. The SwitchBot Hub has a limited range, so placing it in a central location will maximize its effectiveness. Ideally, it should be positioned where it can easily communicate with all devices in different rooms. If your home is large or has thick walls, you may need additional hubs or range extenders to ensure coverage throughout the space.
Finally, think about how you want to group your devices. You might want to create zones based on rooms, functions, or even times of day. For example, you could have a "Morning Routine" scene that activates lights and adjusts the thermostat when you wake up. Planning these scenes in advance will streamline the setup process and enhance your overall smart home experience.
Step-by-Step Guide to Setting Up SwitchBot Hubs
Now that you have a plan in place, it’s time to set up your SwitchBot Hubs. Start by downloading the SwitchBot app, available for both iOS and Android devices. Create an account and follow the prompts to add your first SwitchBot Hub. The app will guide you through connecting the hub to your Wi-Fi network, which typically requires entering your network password.
Once the hub is connected, you can start adding devices. Use the app to scan for compatible devices, and follow the on-screen instructions to connect them to the hub. This process often involves ensuring that the devices are powered on and within range of the hub. After successfully adding a device, you’ll have the option to assign it to specific rooms or groups based on your earlier planning.
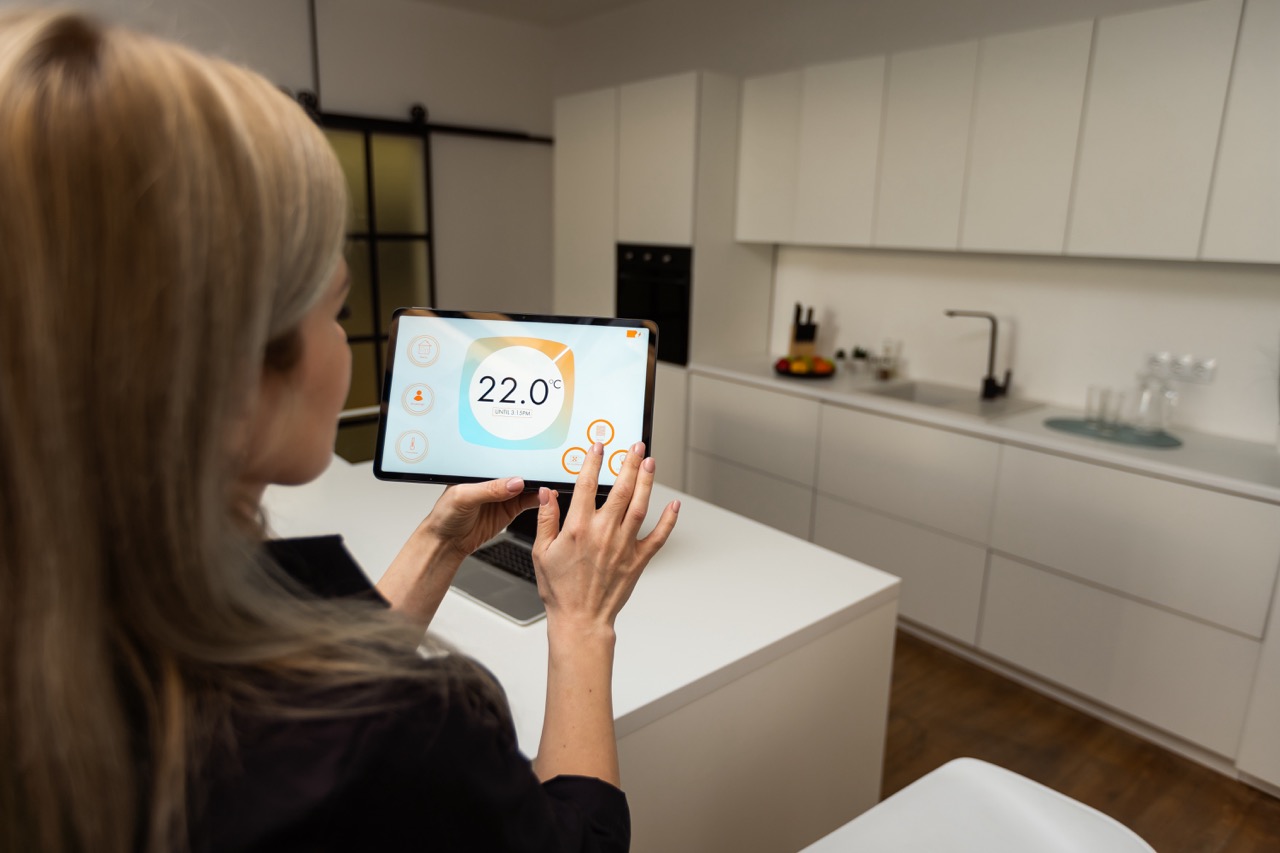
After all devices are connected, it’s time to create scenes or automation routines. The SwitchBot app allows you to set up various conditions and actions, such as turning on lights when motion is detected or adjusting the thermostat based on the time of day. Take some time to explore these features, as they will significantly enhance the functionality of your smart home setup.
Optimizing Your SwitchBot Setup for Maximum Efficiency
Once your SwitchBot Hubs and devices are set up, there are several ways to optimize your system for maximum efficiency. One effective method is to regularly review and adjust your automation routines based on your lifestyle. For example, if you notice that you often forget to turn off the living room lights, you can set a schedule to do so automatically at a specific time each evening.
Another optimization tip is to utilize the energy monitoring features offered by some SwitchBot devices. By keeping track of energy consumption, you can identify high-usage appliances and alter your habits accordingly. This can lead to not only a more efficient home but also potential savings on your energy bills.
Lastly, don’t hesitate to explore third-party integrations. The SwitchBot Hub works with various platforms and devices, allowing you to expand your smart home capabilities. From security systems to entertainment devices, the possibilities are vast. Regularly updating your app and firmware will also ensure that you benefit from the latest features and improvements, keeping your smart home at the forefront of technology.
Setting up multiple rooms using SwitchBot Hubs can transform your living space into a smart home that enhances convenience and efficiency. By understanding the features of the hub, carefully planning your layout, following a structured setup process, and optimizing your system, you can create a seamless smart home experience. As technology continues to evolve, embracing smart devices like the SwitchBot Hub will not only make your life easier but also prepare your home for the future. Happy automating!